
IdentityServer3 is no longer supported. I highly recommend that you consider moving to IdentityServer4 or Duende IdentityServer.
Expanding on the Identity Server implementation from my previous post, we will now create some basic MVC clients and start authenticating our client application.
This part of guide will look at manually integrating an ASP.NET MVC application with Identity Server, so that we can see some of the features and processes of OpenID Connect 1.0 and Identity Server 3 in action. Part 3 of this guide will cover the use of the OpenID Connect katana middleware to automatically configure an application to use Identity Server.
Form Post Client
By using the form post response mode authorization, authorization response parameters are encoded as HTML form values and transmitted via HTTP POST to the requesting client, with result parameters returning with a body using the application/x-www-form-urlencoded format.
You can find further examples and security considerations for the form post response mode in the OAuth 2.0 Form Post Response Mode Specification.
The form post response mode mitigates some of the security implications of encoding response values in the query string and in the fragment value.
Installation
All we need for this is a basic ASP.NET project using the MVC template. Do make sure you don't add any of the authentication templates when you create the project.
Required packages (where Microsoft.Owin.Host.SystemWeb allows us to run the OWIN pipeline in IIS):
install-package Microsoft.Owin.Host.SystemWeb
install-package Microsoft.Owin.Security.Cookies
install-package System.IdentityModel.Tokens.Jwt
Authorization
To start with we'll add a new MVC controller along with a sign in method. This will explicitly use the OpenID Connect 1.0 Authorize endpoint (see one of my previous posts describing this) which will render the login page of our Identity Server implementation. OpenID Connect 1.0 refers to this as an Authentication Request, which they define as:
"[An] OAuth 2.0 Authorization Request using extension parameters and scopes defined by OpenID Connect to request that the End-User be authenticated by the Authorization Server, which is an OpenID Connect Provider, to the Client, which is an OpenID Connect Relying Party." - OpenID Connect 1.0 Core
private const string ClientUri = @"https://localhost:44304";
private const string CallbackEndpoint = ClientUri + @"/account/signInCallback";
private const string IdServBaseUri = @"https://localhost:44300/core";
private const string AuthorizeUri = IdServBaseUri + @"/connect/authorize";


public ActionResult SignIn() {
	var state = Guid.NewGuid().ToString("N");
    var nonce = Guid.NewGuid().ToString("N");


    var url = AuthorizeUri +
		"?client_id=implicitclient" +
		"&response_type=id_token" +
		"&scope=openid email profile" +
		"&redirect_uri=" + CallbackEndpoint +
		"&response_mode=form_post" +
		"&state=" + state +
		"&nonce=" + nonce;


    this.SetTempCookie(state, nonce);
    return this.Redirect(url);
}


private void SetTempCookie(string state, string nonce) {
    var tempId = new ClaimsIdentity("TempCookie");
    tempId.AddClaim(new Claim("state", state));
    tempId.AddClaim(new Claim("nonce", nonce));


    this.Request.GetOwinContext().Authentication.SignIn(tempId);
}
Some of these Authorizatin Request parameters have been carried across from OAuth 2.0 whilst others are unique to OpenID Connect 1.0.
The client_id refers to the OAuth 2.0 Client Identifier we used when we set up out implicit client.
response_type determines the authorization flow to be used.
Options here are code, token or id_token token.
scope must always include the openid scope, everything else is optional.
It is recommended that you keep to a minimum scope at all times.
redirect_uri is the URI that the response will be sent to. This must exactly match a redirect URI for the client in your OpenID provider. This should be https but can be http.
response_mode informs the authorization server what mechanism to use for returning parameters from the authorization server. Note that this parameter is optional and is currently only used if you want to use the form post response mode.
The state will be echoed back in the token response, therefore maintaining state between the request and the response (useful for Cross-Site Request Forgery).
The nonce will be echoed back in the identity token, therefore maintaining state between the token and the request.
You can find the full specification for the authentication endpoint here.
The temporary cookie we use here will allow us to check these state and nonce values in the sign in callback, like so:
[HttpPost]
public async Task<ActionResult> SignInCallback() {
	var token = this.Request.Form["id_token"];
    var state = this.Request.Form["state"];


    var claims = await ValidateIdentityTokenAsync(token, state);
    var id = new ClaimsIdentity(claims, "Cookies");
    this.Request.GetOwinContext().Authentication.SignIn(id);


    return this.Redirect("/");
}
Here we are receiving the result of the authentication request and then sending off for validation before logging the user in.
private async Task<IEnumerable<Claim>> ValidateIdentityTokenAsync(string token, string state) {
	const string certString = "MIIDBTCCAfGgAwIBAgIQNQb+T2ncIrNA6cKvUA1GWTAJBgUrDgMCHQUAMBIxEDAOBgNVBAMTB0RldlJvb3QwHhcNMTAwMTIwMjIwMDAwWhcNMjAwMTIwMjIwMDAwWjAVMRMwEQYDVQQDEwppZHNydjN0ZXN0MIIBIjANBgkqhkiG9w0BAQEFAAOCAQ8AMIIBCgKCAQEAqnTksBdxOiOlsmRNd+mMS2M3o1IDpK4uAr0T4/YqO3zYHAGAWTwsq4ms+NWynqY5HaB4EThNxuq2GWC5JKpO1YirOrwS97B5x9LJyHXPsdJcSikEI9BxOkl6WLQ0UzPxHdYTLpR4/O+0ILAlXw8NU4+jB4AP8Sn9YGYJ5w0fLw5YmWioXeWvocz1wHrZdJPxS8XnqHXwMUozVzQj+x6daOv5FmrHU1r9/bbp0a1GLv4BbTtSh4kMyz1hXylho0EvPg5p9YIKStbNAW9eNWvv5R8HN7PPei21AsUqxekK0oW9jnEdHewckToX7x5zULWKwwZIksll0XnVczVgy7fCFwIDAQABo1wwWjATBgNVHSUEDDAKBggrBgEFBQcDATBDBgNVHQEEPDA6gBDSFgDaV+Q2d2191r6A38tBoRQwEjEQMA4GA1UEAxMHRGV2Um9vdIIQLFk7exPNg41NRNaeNu0I9jAJBgUrDgMCHQUAA4IBAQBUnMSZxY5xosMEW6Mz4WEAjNoNv2QvqNmk23RMZGMgr516ROeWS5D3RlTNyU8FkstNCC4maDM3E0Bi4bbzW3AwrpbluqtcyMN3Pivqdxx+zKWKiORJqqLIvN8CT1fVPxxXb/e9GOdaR8eXSmB0PgNUhM4IjgNkwBbvWC9F/lzvwjlQgciR7d4GfXPYsE1vf8tmdQaY8/PtdAkExmbrb9MihdggSoGXlELrPA91Yce+fiRcKY3rQlNWVd4DOoJ/cPXsXwry8pWjNCo5JD8Q+RQ5yZEy7YPoifwemLhTdsBz3hlZr28oCGJ3kbnpW0xGvQb3VHSTVVbeei0CfXoW6iz1";


	var cert = new X509Certificate2(Convert.FromBase64String(certString));


    var result = await this.Request
		.GetOwinContext()
        .Authentication
        .AuthenticateAsync("TempCookie");


    if (result == null) {
		throw new InvalidOperationException("No temp cookie");
    }


    if (state != result.Identity.FindFirst("state").Value) {
		throw new InvalidOperationException("invalid state");
	}


    var parameters = new TokenValidationParameters {
		ValidAudience = "implicitclient",
        ValidIssuer = IdServBaseUri,
        IssuerSigningToken = new X509SecurityToken(cert)
    };


    var handler = new JwtSecurityTokenHandler();
    SecurityToken jwt;
    var id = handler.ValidateToken(token, parameters, out jwt);


    if (id.FindFirst("nonce").Value != result.Identity.FindFirst("nonce").Value) {
		throw new InvalidOperationException("Invalid nonce");
	}


    this.Request.GetOwinContext().Authentication.SignOut("TempCookie");


	return id.Claims;
}
Here we are comparing the returned state and nonce to those stored in our temp cookie and validating the JWT.
Sign Out
private const string LogoutUri = IdServBaseUri + @"/connect/endsession";
public ActionResult SignOut() {
	this.Request.GetOwinContext().Authentication.SignOut();
    return this.Redirect(LogoutUri);
}
I've only included basic logout functionality here. Logout redirects will be covered in a future post. Find the full specification for session management here
Presentation
Add the following to your navbar in _Layout.cshtml
<li>@Html.ActionLink("SignIn", "SignIn", "Account")</li>
<li>@Html.ActionLink("SignOut", "SignOut", "Account")</li>
Add the following to your Index.cshtml view so that we can see our claims once we are logged in.
@if (User.Identity.IsAuthenticated) {
	<p>
		<dl>
			@foreach (var claim in System.Security.Claims.ClaimsPrincipal.Current.Claims) {
				<dt>@claim.Type</dt>
				<dd>@claim.Value</dd>
            }
		</dl>
	</p>
}
else {
	<p>anonymous.</p>
}
Startup
To hook all of this together we'll use the OWIN pipeline to issue our cookies (application and temp) and also ensure the JWT middleware uses the claim types that Identity Server uses and not the verbose XML namespaces.
public class Startup {
	public void Configuration(IAppBuilder app) {
		JwtSecurityTokenHandler.InboundClaimTypeMap = new Dictionary<string, string>();


		app.UseCookieAuthentication(new CookieAuthenticationOptions {
			AuthenticationType = "Cookies"
		});


		app.UseCookieAuthentication(new CookieAuthenticationOptions {
			AuthenticationType = "TempCookie",
			AuthenticationMode = AuthenticationMode.Passive
		});
	}
}
Now we can run the project and see this in action.
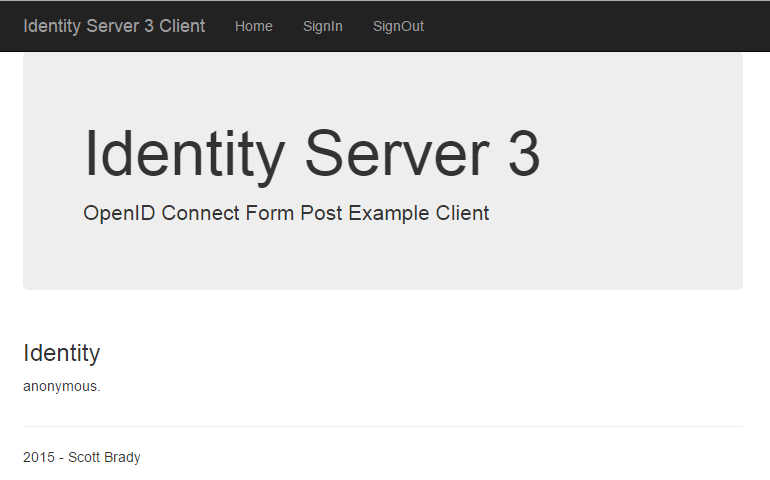
Pre-sign in Homepage.
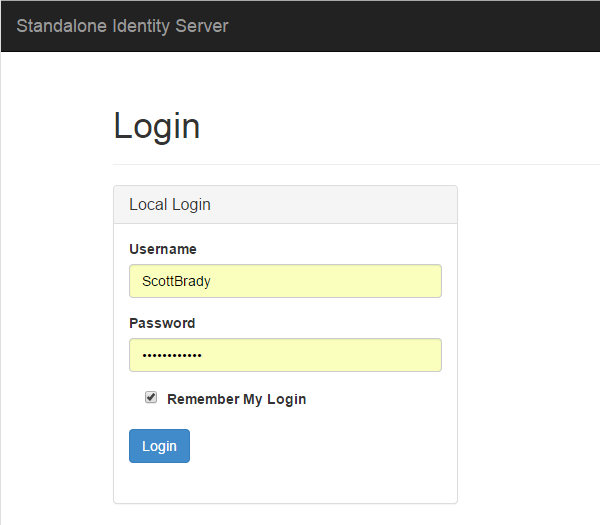
Identity Server Login Page.
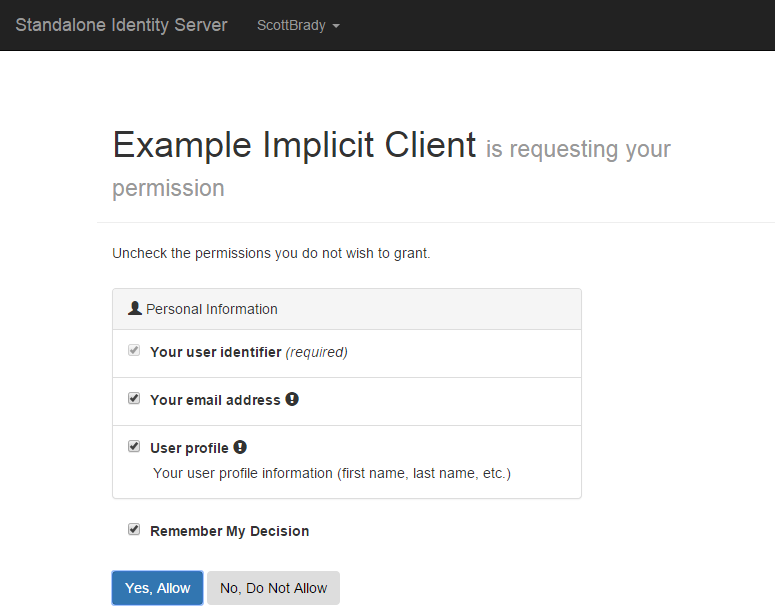
Identity Server Consent Screen. As you may remember, we enabled the consent page and the ability to remember content for this client. Note that this is the default behaviour.
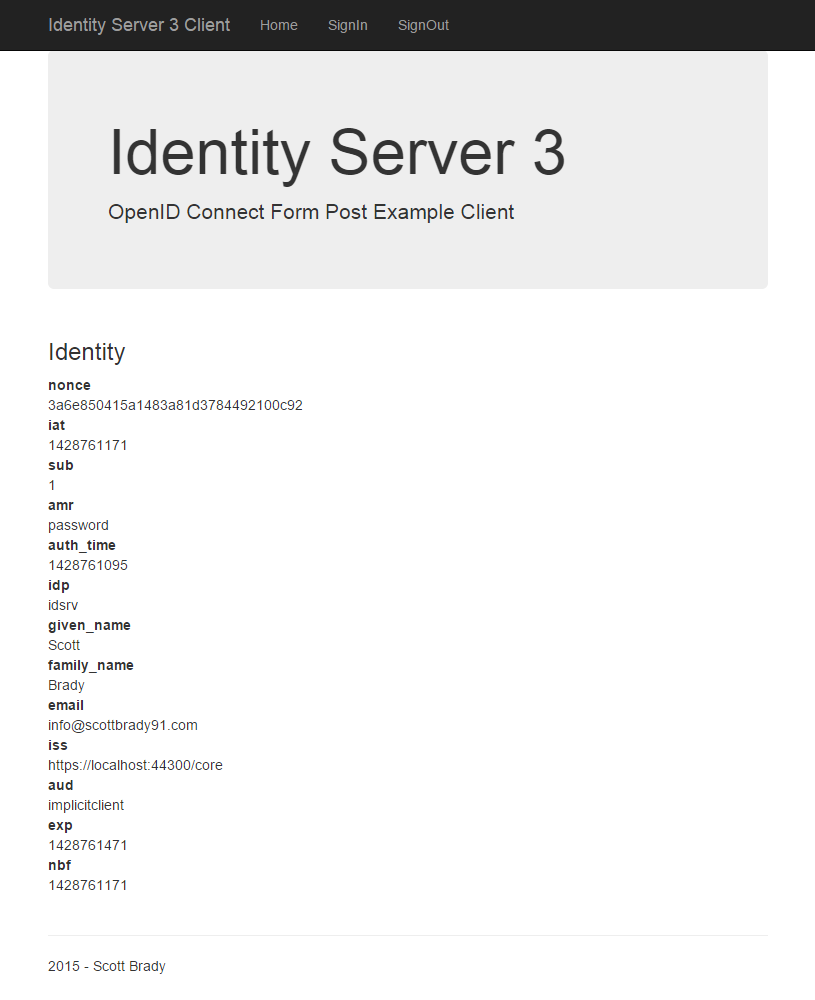
Here we can see the claims for our signed in user. As we requested openid, profile and email, we can see some easily identifiable standard claims such as family_name and email.
You can find a list of OpenID Connect 1.0 standard claims here.
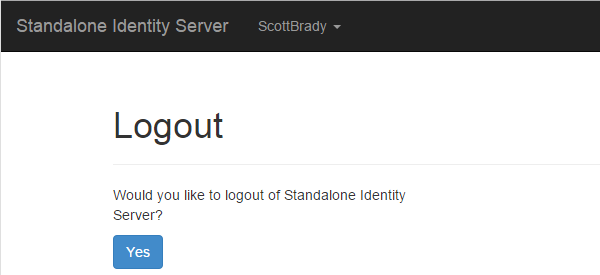

The logout screen is pretty self explanatory. We don't have the redirect set up however, so upon logout we'll remain within our Identity Server site.
Comments about using Form Post Client and Identity Server 3
With this client we are explicitly using the various features of the OpenID Connect specification. In the next client however, we will start to look at how simple it is to integrate with Identity Server, by using using some of the standard Microsoft Katana libraries that will handle everything in this article automatically.
However, for this explicit client there are a few areas you could expand upon, for example you could use the discovery endpoints to get the JWK public key instead of hard coding it, or you could take advantage of the logout redirect capabilities of Identity Server.
Next up we'll set up a hybrid client and use an Owin based MVC client to show just how easy Identity Server 3 is to use.
I didn't expect to go so detailed into this client, nor the OpenID Connect specification, so if you spot any howlers feel free to give me a shout on twitter and I'll get it sorted ASAP.
Links
- Blog Post Example Clients GitHub Repository
- Blog Post Identity Server GitHub Repository
- Official Identity Server Samples Repository
Other articles in the series: