
Recently, I have been using OpenSSL to generate private keys and X509 certificates for Elliptic Curve Cryptography (ECC) and then using them in ASP.NET Core for token signing.
In this article, I’m going to show you how to use OpenSSL to generate private and public keys on the curve of your choice. Check out my other article for how to do the same for RSA keys.
tl;dr - OpenSSL ECDSA Cheat Sheet
# find your curve
openssl ecparam -list_curves

# generate a private key for a curve
openssl ecparam -name prime256v1 -genkey -noout -out private-key.pem

# generate corresponding public key
openssl ec -in private-key.pem -pubout -out public-key.pem

# optional: create a self-signed certificate
openssl req -new -x509 -key private-key.pem -out cert.pem -days 360

# optional: convert pem to pfx
openssl pkcs12 -export -inkey private-key.pem -in cert.pem -out cert.pfx
Generating an Elliptic Curve Private Key Using OpenSSL
To start, you will need to choose the curve you will be working with. You can use the following command to see a list of supported curve names and descriptions.
openssl ecparam -list_curvesIn this example, I am using prime256v1 (secp256r1), which is suitable for JWT signing; this is the curve used for JOSE’s ES256.
You can now generate a private key:
openssl ecparam -name prime256v1 -genkey -noout -out private-key.pemThis should give you a PEM file containing your EC private key, which looks something like the following:
-----BEGIN EC PRIVATE KEY-----
MHcCAQEEIKEubpBiHkZQYlORbCy8gGTz8tzrWsjBJA6GfFCrQ98coAoGCCqGSM49
AwEHoUQDQgAEOr6rMmRRNKuZuwws/hWwFTM6ECEEaJGGARCJUO4UfoURl8b4JThG
t8VDFKeR2i+ZxE+xh/wTBaJ/zvtSqZiNnQ==
-----END EC PRIVATE KEY-----
Creating an EC Public Key from a Private Key Using OpenSSL
Now that you have your private key, you can use it to generate another PEM, containing only your public key.
openssl ec -in private-key.pem -pubout -out public-key.pemThis should give you another PEM file, containing the public key:
-----BEGIN PUBLIC KEY-----
MFkwEwYHKoZIzj0CAQYIKoZIzj0DAQcDQgAEOr6rMmRRNKuZuwws/hWwFTM6ECEE
aJGGARCJUO4UfoURl8b4JThGt8VDFKeR2i+ZxE+xh/wTBaJ/zvtSqZiNnQ==
-----END PUBLIC KEY-----
Creating an EC Self-Signed Certificate Using OpenSSL
Now that you have a private key, you could use it to generate a self-signed certificate. This is not required, but it allows you to use the key for server/client authentication, or gain X509 specific functionality in technologies such as JWT and SAML.
openssl req -new -x509 -key private-key.pem -out cert.pem -days 360This will again generate another PEM file, this time containing the certificate created by your private key:
-----BEGIN CERTIFICATE-----
MIIB4DCCAYWgAwIBAgIUH53ssiPt4JEGx+VJyntCpHL+TdAwCgYIKoZIzj0EAwIw
RTELMAkGA1UEBhMCQVUxEzARBgNVBAgMClNvbWUtU3RhdGUxITAfBgNVBAoMGElu
dGVybmV0IFdpZGdpdHMgUHR5IEx0ZDAeFw0yMDA3MTgxMTE4NDNaFw0yMTA3MTMx
MTE4NDNaMEUxCzAJBgNVBAYTAkFVMRMwEQYDVQQIDApTb21lLVN0YXRlMSEwHwYD
VQQKDBhJbnRlcm5ldCBXaWRnaXRzIFB0eSBMdGQwWTATBgcqhkjOPQIBBggqhkjO
PQMBBwNCAAQ6vqsyZFE0q5m7DCz+FbAVMzoQIQRokYYBEIlQ7hR+hRGXxvglOEa3
xUMUp5HaL5nET7GH/BMFon/O+1KpmI2do1MwUTAdBgNVHQ4EFgQU9yjFBqAZOMv+
cD6a3KHTWuYrcFEwHwYDVR0jBBgwFoAU9yjFBqAZOMv+cD6a3KHTWuYrcFEwDwYD
VR0TAQH/BAUwAwEB/zAKBggqhkjOPQQDAgNJADBGAiEAwCpA5Nx083qqUqU6LUd0
vzZLK4etuInxNvXohXH5LiACIQDSI63J4DiN3dq2sPPLw5iQi9MMefcV1iAySbKT
B9BaAw==
-----END CERTIFICATE-----
You could leave things there, but if you are working on Windows, you may prefer a PFX file that contains both the certificate and the private key for you to export and use.
You can do this using OpenSSL’s pkcs12 command:
openssl pkcs12 -export -inkey private-key.pem -in cert.pem -out cert.pfxOpenSSL will ask you to create a password for the PFX file. Feel free to leave this blank.
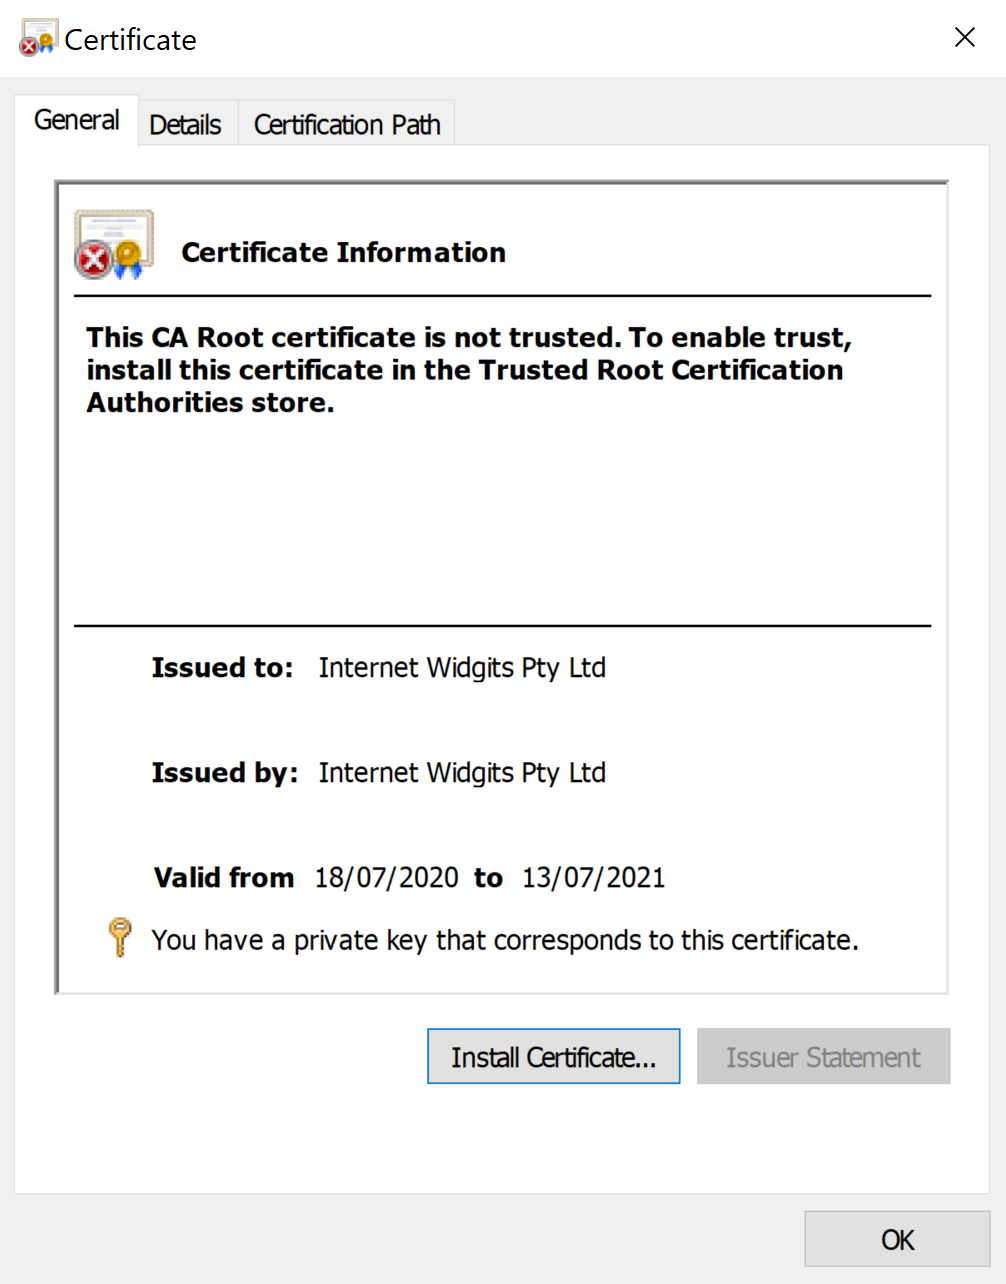
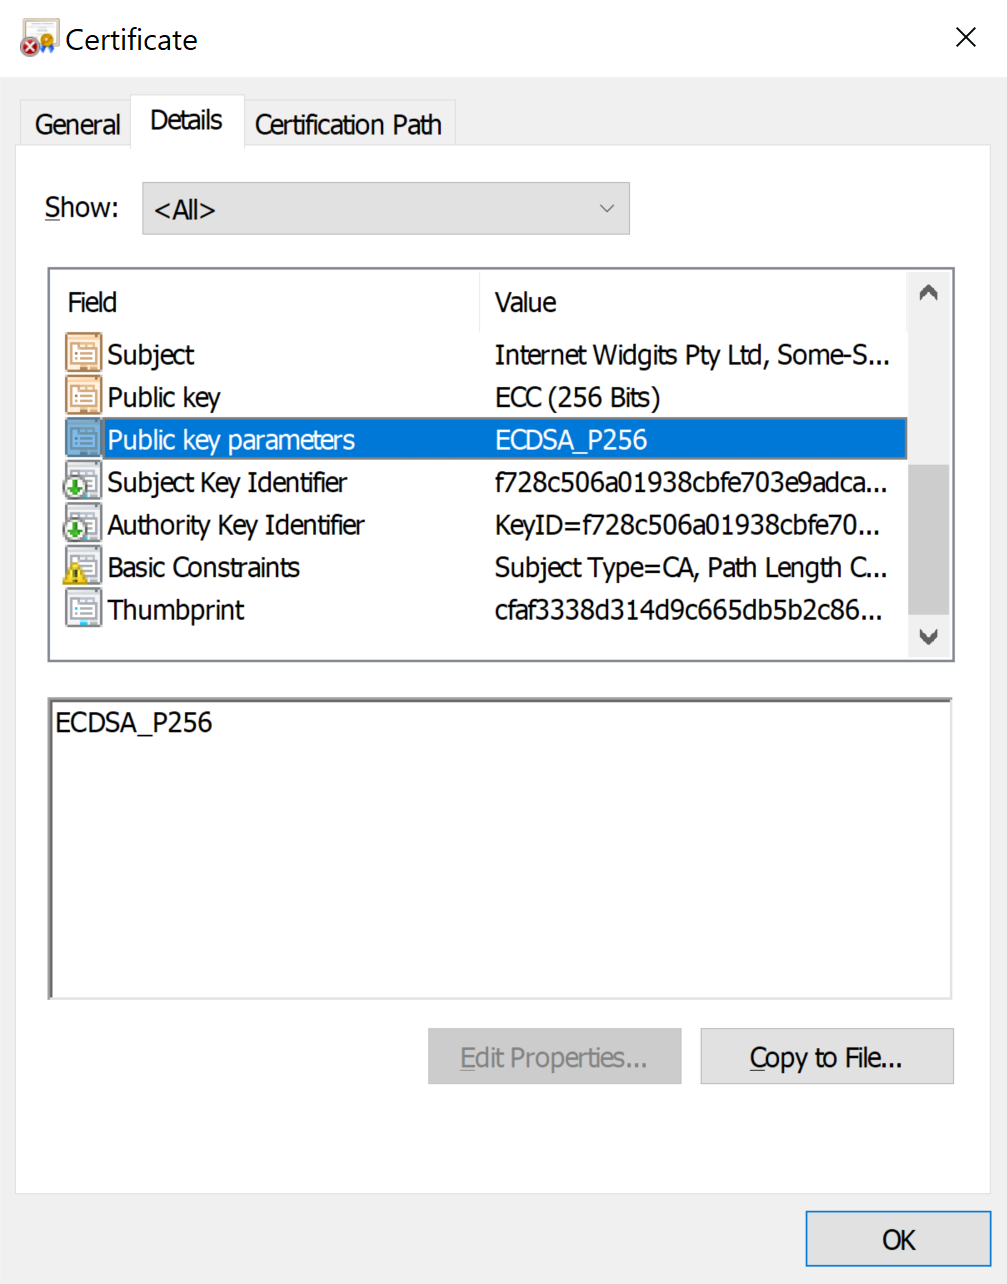
This should leave you with a certificate that Windows can both install and export the EC private key from.
Learn more
To learn more about using ECDSA, check out my JOSE focussed article “Which signing algorithm should I use?”.