
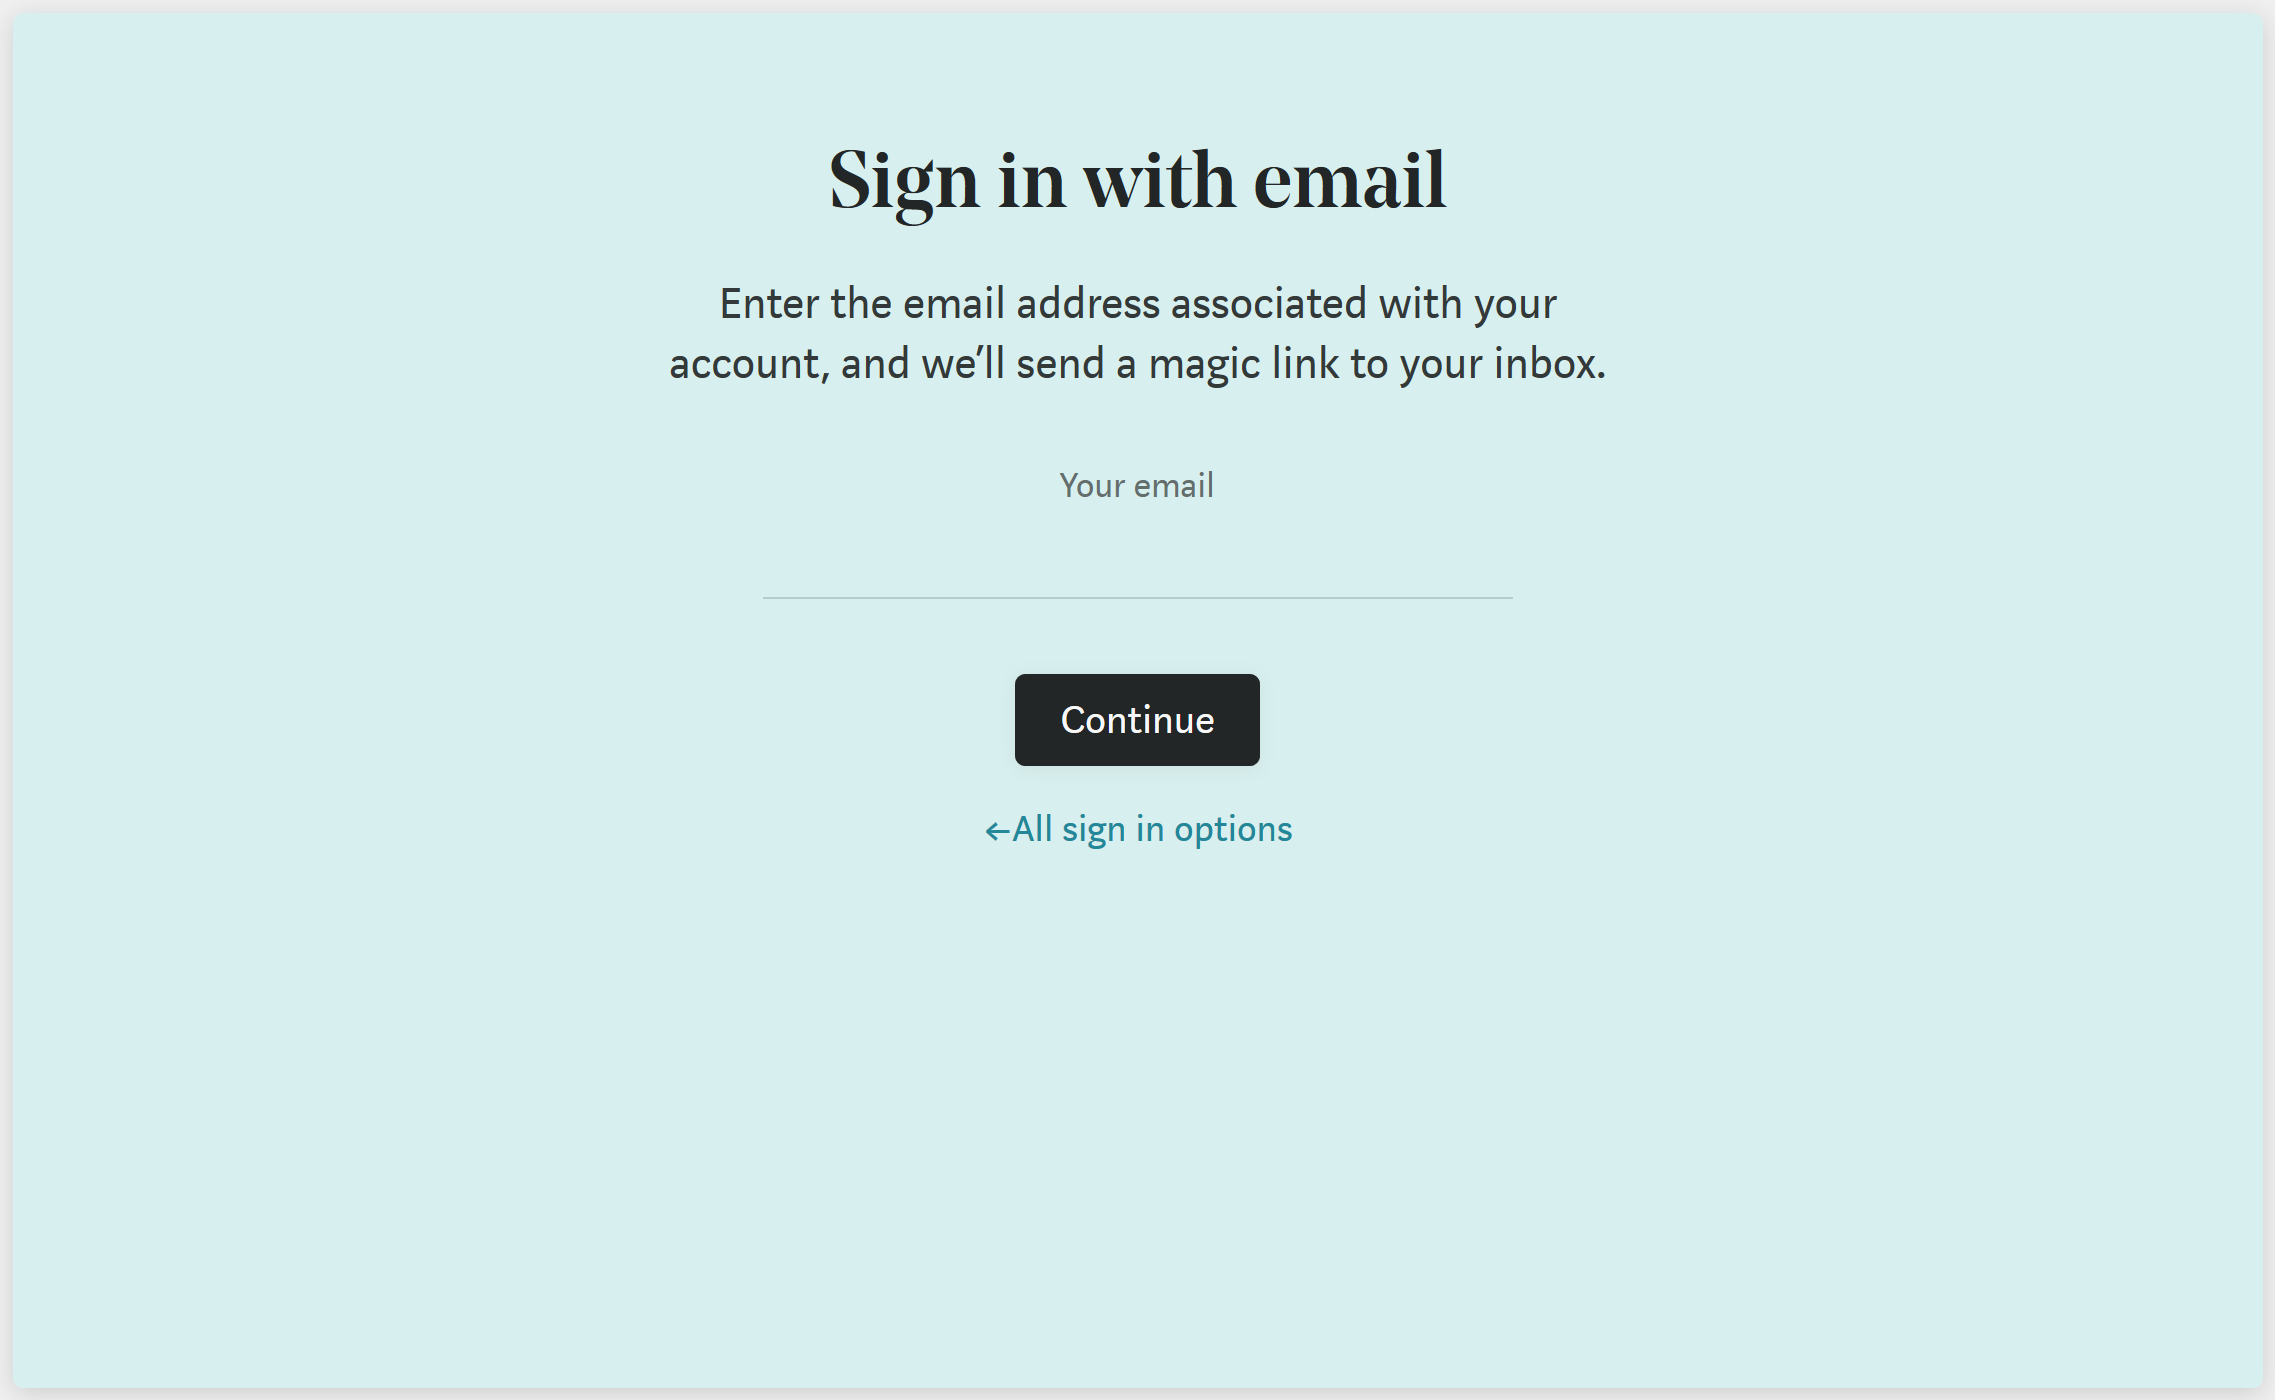
If you want to sign in to Medium using an email address instead of a social media account, you are met with the following screen:
You'll then be sent an email that looks something like this:
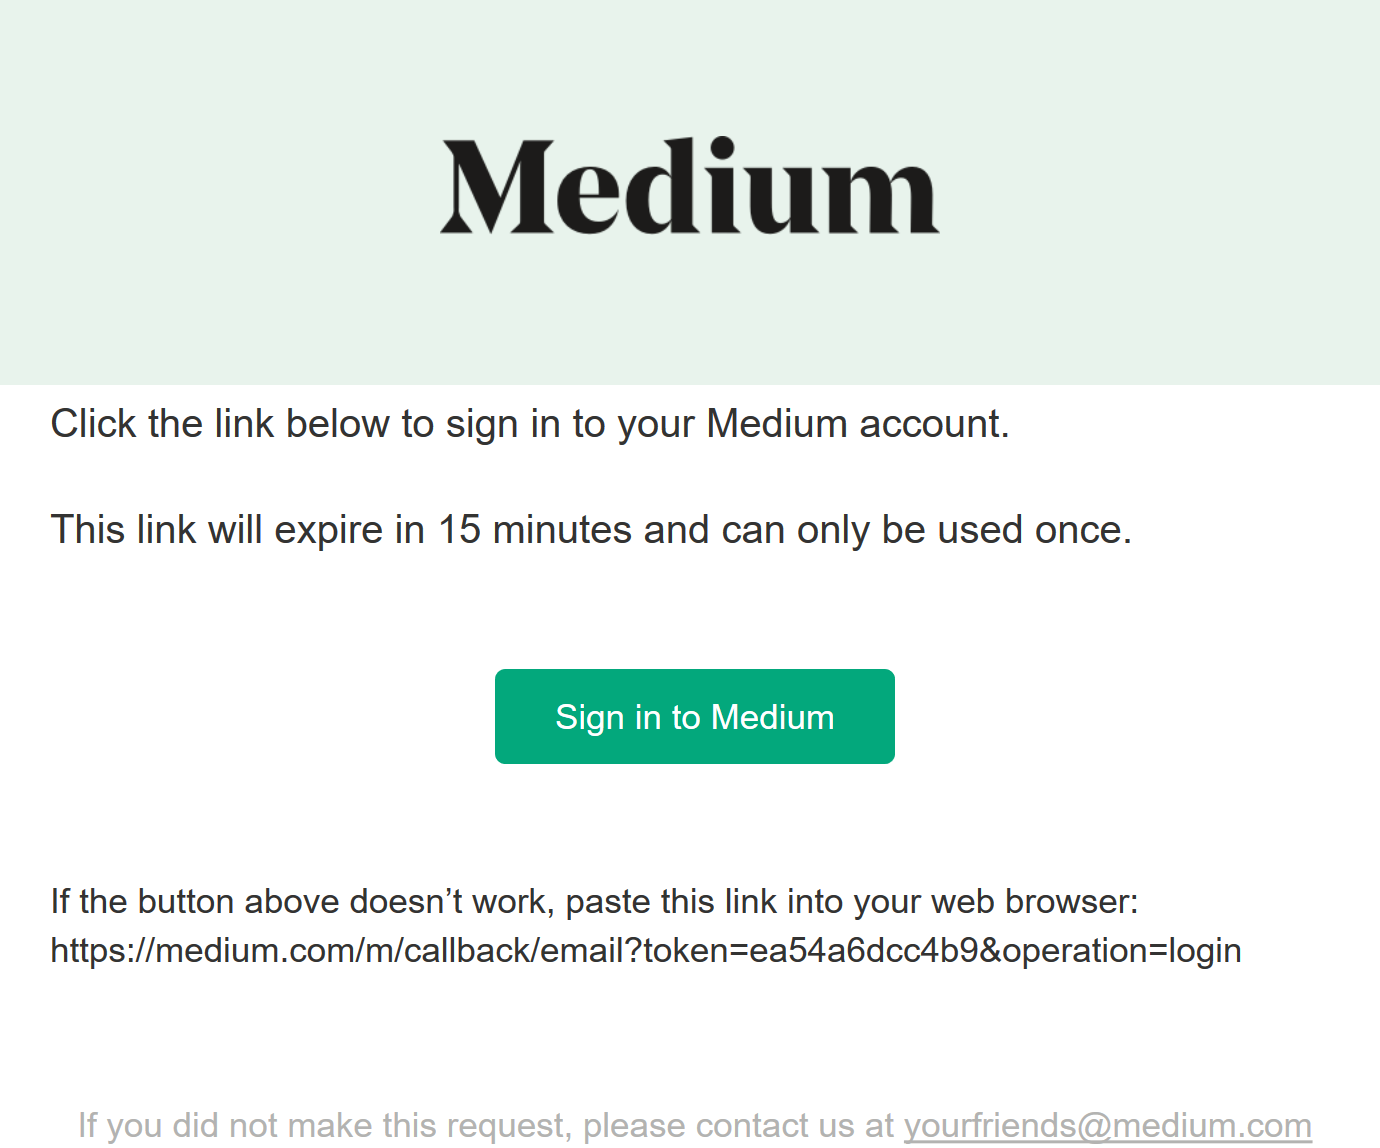
Instead of usernames and passwords, Medium relies on your ownership of a mailbox to verify your identity. So, they’ll send a one-time link to your mailbox which when used will log you into Medium. Medium are effectively offloading credential management to your mail provider.
You can read more about Mediums approach and reasoning in their announcement article from 2015.
This login mechanism is really simple to implement using some of the libraries provided by ASP.NET Core Identity. In fact, it’s not too dissimilar from email confirmation.
Project Setup
For this demo, I’m going to use the ASP.NET Core MVC Visual Studio 2017 template, with no authentication.
If you’re not using the Microsoft.AspNetCore.All package, then you’ll need to install the following packages before we start:
install-package Microsoft.AspNetCore.IdentityAnd if you want a user store, you’ll also want:
install-package Microsoft.AspNetCore.Identity.EntityFrameworkAlong with any entity framework database provider you might want to use (I’m just going to use in-memory).
We can then register ASP.NET Core Identity in our ConfigureServices method:
services.AddIdentity<IdentityUser, IdentityRole>()
    .AddEntityFrameworkStores<IdentityDbContext>()
    .AddDefaultTokenProviders();
And then in our Configure method, before UseMvc:
app.UseAuthentication();
Here, we are using all of the defaults for ASP.NET Core Identity, including the default cookie configuration we get from the AddIdentity, which has a cookie type of “Identity.Application” (otherwise accessible via IdentityConstants.ApplicationScheme).
Login
By default, the ASP.NET Core Identity application cookie uses /Account/Login as it’s login path, so let’s create that controller, a get method, and a post method.
Controller
public class AccountController : Controller {
    [HttpGet]
    public IActionResult Login() {
        return View();
    }


    [HttpPost]
    [ValidateAntiForgeryToken]
    public async Task<IActionResult> Login(LoginModel model) {
        // TODO
    }
}
Model
Where our LoginModel simply takes in an email address:
public class LoginModel {
    [Required]
    [EmailAddress]
    public string EmailAddress { get; set; }
}
View
And our Login view uses the ASP.NET Core tag helper for a form:
@model LoginModel


<div class="row">
    <div class="col-xs-8 col-xs-offset-2">
        <h1 class="text-center">Login</h1>
        <form asp-action="Login" method="post" class="form-horizontal">
            <div class="form-group">
                <label asp-for="EmailAddress" class="col-sm-3">Email Address: </label>
                <div class="col-sm-9">
                    <input asp-for="EmailAddress" class="form-control" />
                </div>
            </div>
            <button type="submit" class="btn btn-primary">Submit</button>
            <div asp-validation-summary="All"></div>
        </form>
    </div>
</div>
Triggering Authentication
And then we’ll just add an AuthorizeAttribute to one of our HomeController methods so that we can trigger login:
[Authorize]
public IActionResult About() {
	// your method
}
Passwordless Authentication
Now we can create our logic to handle passwordless user authentication.
First, we’ll need to inject the ASP.NET Core Identity UserManager into our controller:
private readonly UserManager<IdentityUser> userManager;

public AccountController(UserManager<IdentityUser< userManager) {
    this.userManager = userManager;
}
Login Post
Now in our Login post back method, we want to find the requesting user by their email address:
var user = await userManager.FindByEmailAsync(model.EmailAddress);If the user exists, let’s continue our authentication logic; otherwise, this would be a good time to let the user know that they do not have an account with us. I don’t mean we display it on the screen for all to see. This would be a nice account enumeration vulnerability. Instead, we could email the user informing them that they do not have an account with us.
if (user == null) {
    // email user
}
else {
    // TODO
}
Otherwise, if we find the user, let’s generate them a token.
This will use the default DataProtectorTokenProvider that gets registered when we use the AddDefaultTokenProviders method on IdentityBuilder.
By default, this token provider is used for password reset and email confirmation style processes.
var token = await userManager.GenerateUserTokenAsync(user, "Default", "passwordless-auth");
And now we can generate the login link using IUrlHelper, ensuring that both the token and the user’s email address are included as query string parameters.
By explicitly stating the protocol to use (http or https), we ensure that this API returns the full URL and path, as opposed to just the path to this action.
var url = Url.Action("LoginCallback", "Account", new {token = token, email = model.EmailAddress}, Request.Scheme);Now we need to email this to the user. For this demo, I’m simply going to write the URL to disk:
System.IO.File.WriteAllText("passwordless.txt", url);And our success result is simply going to be a redirect back to the homepage:
return RedirectToAction("Index", "Home");Login Callback
Now for the token verification and signing in of the user:
[HttpGet]
public async Task<IActionResult> LoginCallback(string token, string email) {
    var user = await userManager.FindByEmailAsync(email);
    var isValid = await userManager.VerifyUserTokenAsync(user, "Default", "passwordless-auth", token);


    if (isValid) {
        await userManager.UpdateSecurityStampAsync(user);


        await HttpContext.SignInAsync(
            IdentityConstants.ApplicationScheme,
            new ClaimsPrincipal(new ClaimsIdentity(
                new List<Claimgt; {new Claim("sub", user.Id)},
                IdentityConstants.ApplicationScheme)));
        return RedirectToAction("Index", "Home");
    }


    return View("Error");
}
Here we are once again finding the user record, and then verifying the token using the same token provider and purpose that was used to generate it. If the token is valid, we then simply update that user's security stamp, generate a ClaimsPrincipal and sign the user in. We update the security stamp to ensure that the token cannot be used again. Otherwise, if the token is invalid, they get an error page.
Bootsrapping a New User
If you’re following this with an in-memory database, you can bootstrap a test user by simply adding the following to your login get method:
// bootstrap user
if (!userManager.Users.Any()) {
    await userManager.CreateAsync(new IdentityUser
    {
        UserName = "[email protected]",
        Email = "[email protected]"
    });
}
Login Link
And if you give everything a run and authenticate, you’ll see that our login link looks something like:
http://localhost:50892/Account/LoginCallback?token=CfDJ8GbuL4IlniBKrsiKWFEX%2FNe7v%2FfPz9VKnIryTPWIpNVsWE5hgu6NSnpKZiHTGZsScBYCBDKx%2Foswum28dUis3rVwQsuJd4qvQweyvg6vxTImtXSSBWC45sP1cQthzXodrIza8MVrgnJSVzFYOJvw%2FVZBKQl80hsUpgZG0kqpfGeeYSoCQIVhm4LdDeVA7vJ%2BFn7rci3hZsdfeZydUExnX88xIOJ0KYW6UW%2BmZiaAG%2BVd4lR%2BDwhfm%2Fmv4cZZEJSoEw%3D%3D&[email protected]Optimisations
Get that user data out of the URL!
At the moment our login and login callback methods are completely disconnected, meaning that we need to keep track of the requesting user by keeping a unique identifier in the login link (e.g. email, username or user id).
A simple optimisation we can do is to use the two factor cookie available with ASP.NET Core Identity to store the requesting user between requests:
await HttpContext.SignInAsync(
    IdentityConstants.TwoFactorUserIdScheme,
    new ClaimsPrincipal(new ClaimsIdentity(
        new List<Claim> {new Claim("sub", user.Id)}, IdentityConstants.TwoFactorUserIdScheme)));
And then retrieve this in our LoginCallback using:
var result = await HttpContext.AuthenticateAsync(IdentityConstants.TwoFactorUserIdScheme);
var userId = result.Principal.FindFirstValue("sub");
Look at the size of that token!
The token we generated was designed for longer-lived processes such as password reset (a few hours) and email confirmation (a few days). As a result, it’s significantly longer than we need (a few minutes).
We could look at using some of the token providers for TOTP via email & SMS which give us 6-digit one-time passwords, or maybe even look at creating our own token provider.
Existing Token Lifetime
Medium’s login link is valid for 15 minutes.
To configure this in our current token provider, we would need to configure the TokenLifespan property in the DataProtectionTokenProviderOptions.
If you want to isolate the lifetime of this token from your other confirmation & reset flows, then you’ll need to create a new token provider and options class that implement DataProtectorTokenProvider and DataProtectionTokenProviderOptions respectively.
Andrew Lock has done a fantastic follow up to this article which addresses each of these optimisations. Check it out for implementation specifics.
Source Code
You can find a slightly cleaned up version of the code outlined in this article on GitHub.